July 14, 2026
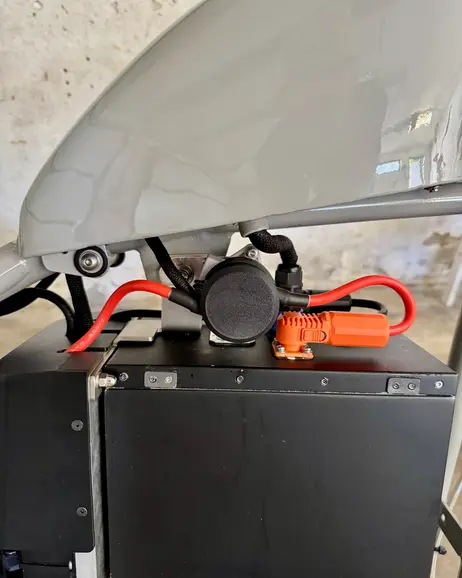
Designed and printed a cover for the contactor for a cleaner look and added safety.
Custom chopper with electric drivetrain
I’ve always enjoyed building things and trying out the ideas I have. Building a custom motorcycle had been on that list for a long time, and since I like to do things a little differently where I can, this one is electric.
Essentially all the brackets that hold the motor, battery and controller are my own designs, which I had laser cut and bent. I had help with the welding and the machining.
I’ve put a timeline of visual notes below, in case you want to see the build step by step. It isn’t a complete list of every step and change, but it gives a picture of the whole process.
If you have any questions, feel free to get in touch with me.
Designed and printed a cover for the contactor for a cleaner look and added safety.
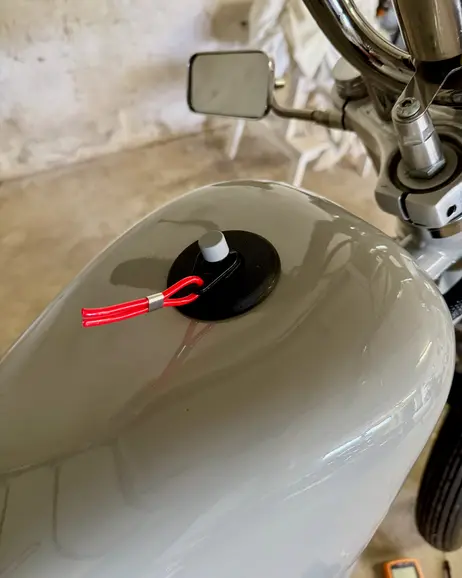
Updated version of the gas cap emergency stop. Opted for a lanyard style, which works surprisingly well aesthetically.
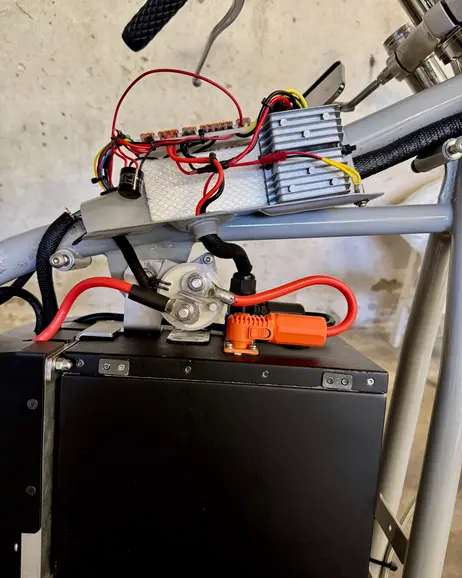
The contactor is properly connected now. It will make sure that high voltage is mechanically disconnected when ignition is off or the emergency stop is triggered.
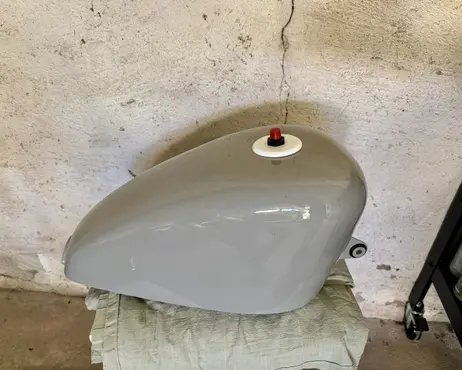
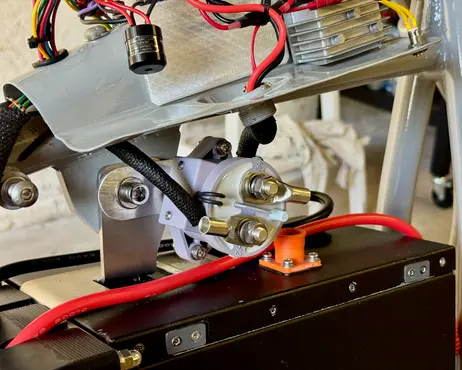
Got my contactor mounting bracket design back. 3D printed a prototype tank cap emergency stop. Test fitted it all.
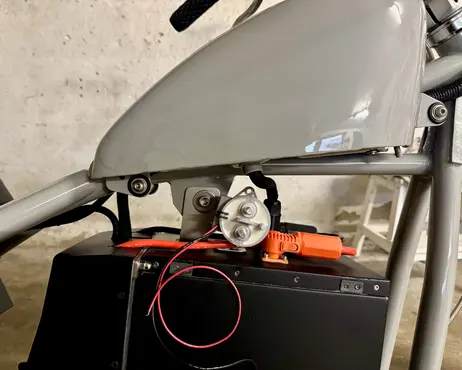
Emergency stop wasn’t good enough, need to add a proper contactor and switch.
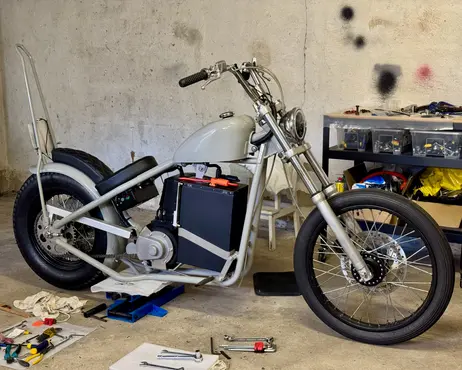
I think the bike is complete now.
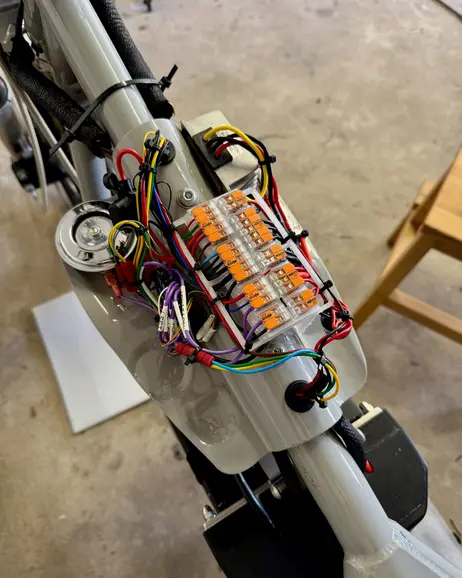
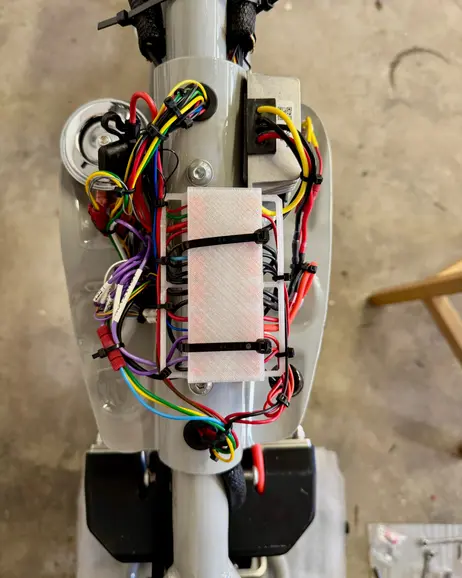
Designed and printed a bracket to fit all the cables to. Routed and strapped down properly.
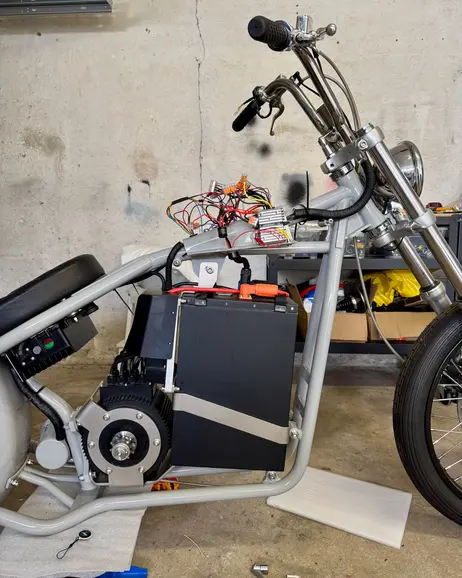
Everything connected and working, routed properly to the tank. Now need to clean up under the tank.
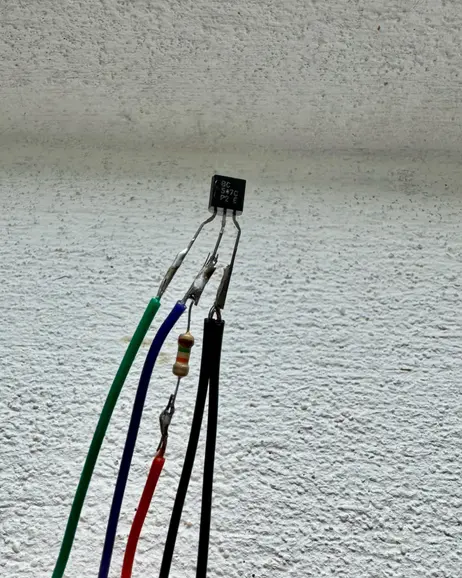
Turns out that it was trickier to get the speedo to talk to the motor controller than expected. Had to make my own signal converter.
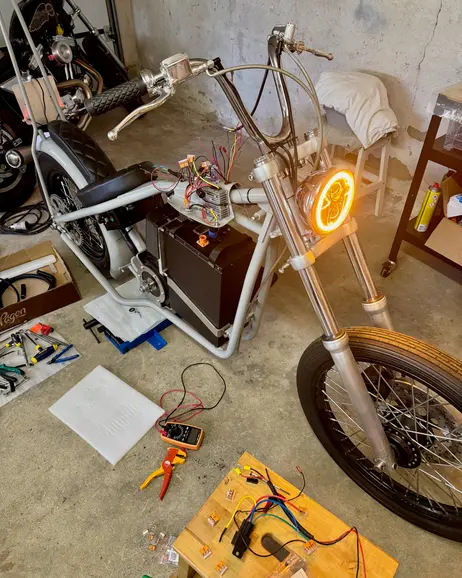
It took a long time to get going again, but working on the last parts of the 12V system. Got lights working properly again.
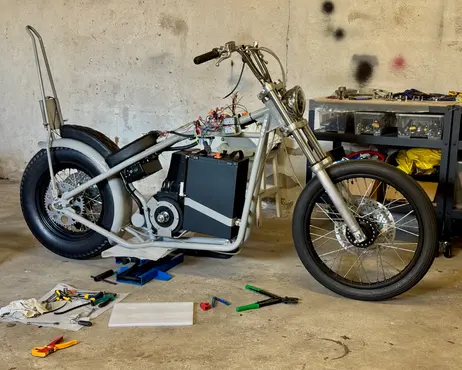
Back at it, managed to get the BMS replaced and got the drive train up and running again.
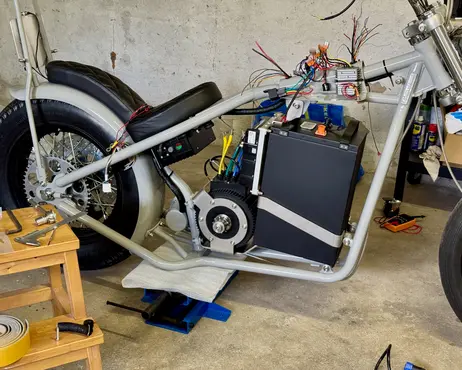
Almost got all the way, unfortunately I destroyed the BMS by accident.
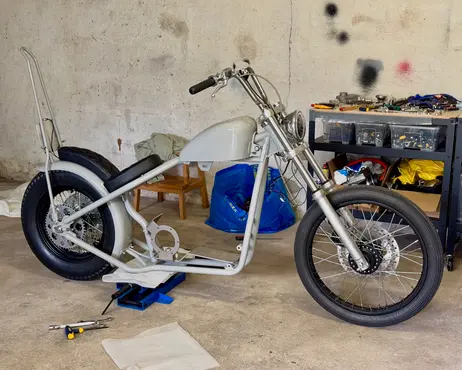
Back to a rolling chassis.
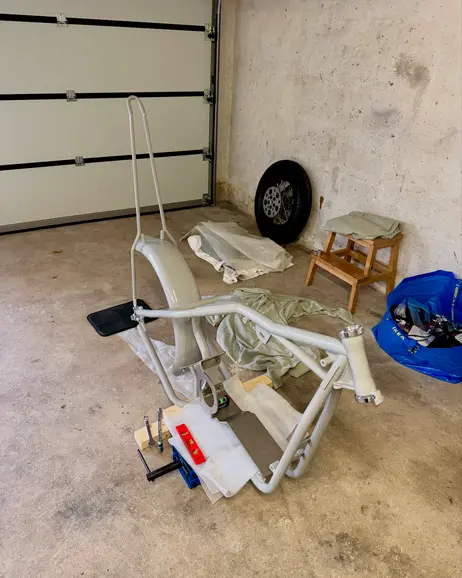
The basic structure is back together now.
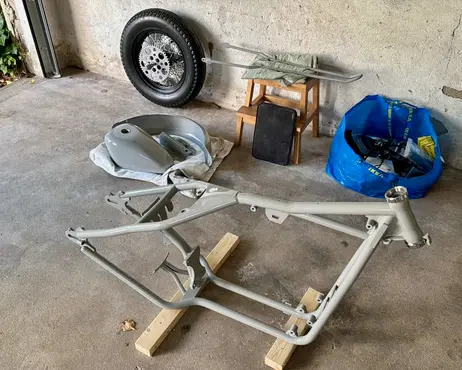
Got the painted parts back. Color is a Porsche Crayon light gray.
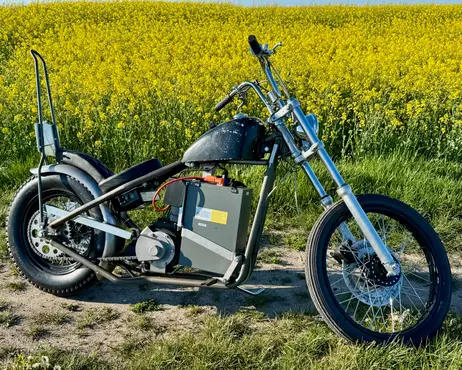
The bike is feature complete, may have done a short test run. Time for disassembly.
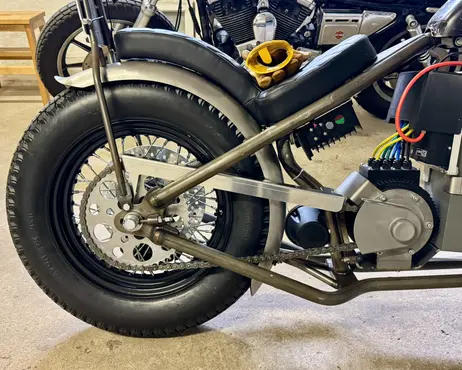
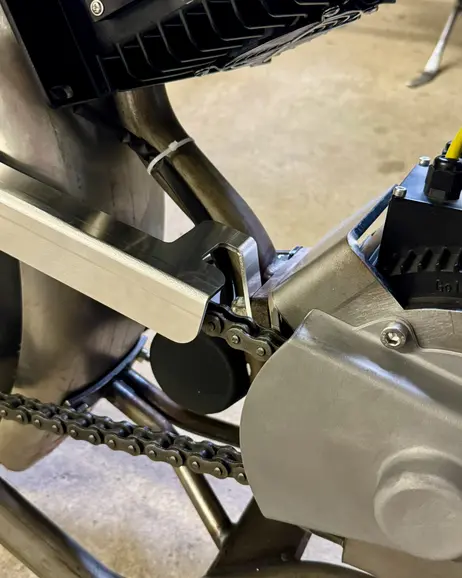
Mounted my custom designed chain guard. Laser cut and bent aluminum.
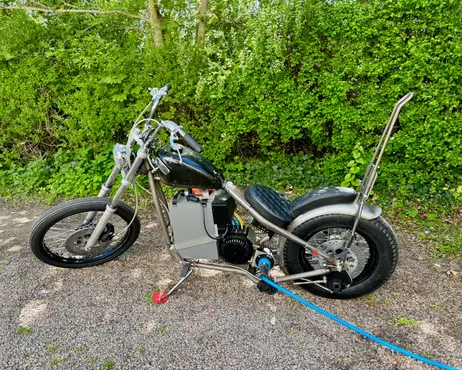
Charging setup verified and working.
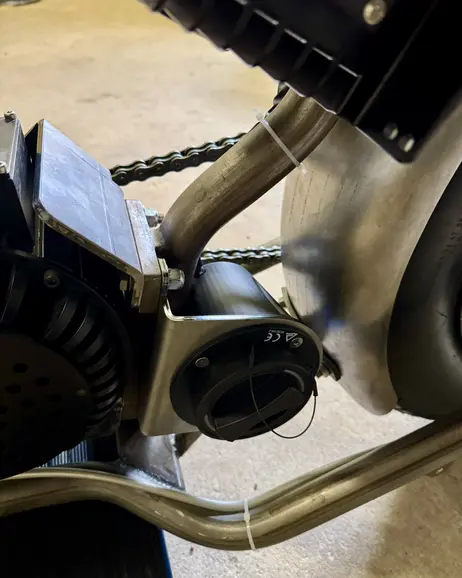
Charge port properly fitted with updated back cover design.
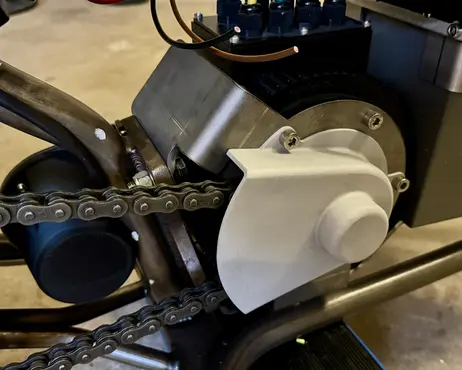
Fitted my updated sprocket guard design. 3D printed aluminum.
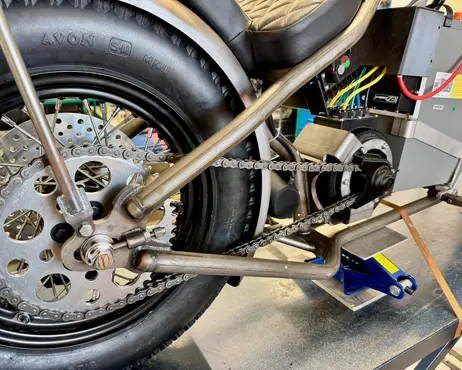
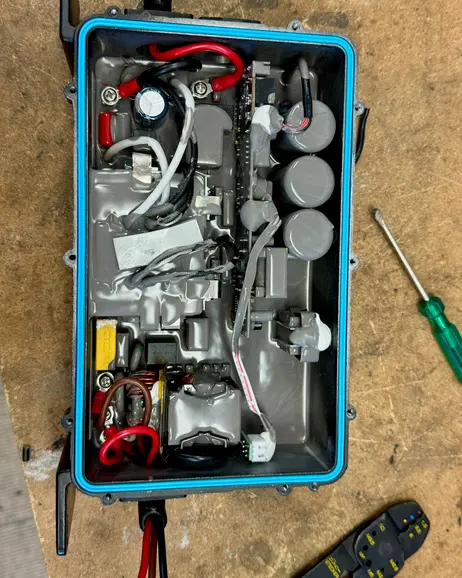
Replaced the charger cables with my own angled cable routes and thinner cabling. Charger in place, updated controller box cover.
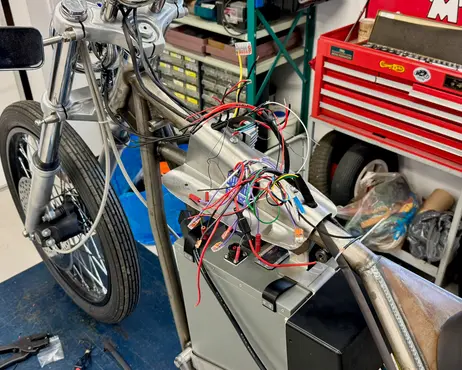
Worked on 12V system, most of it verified working.
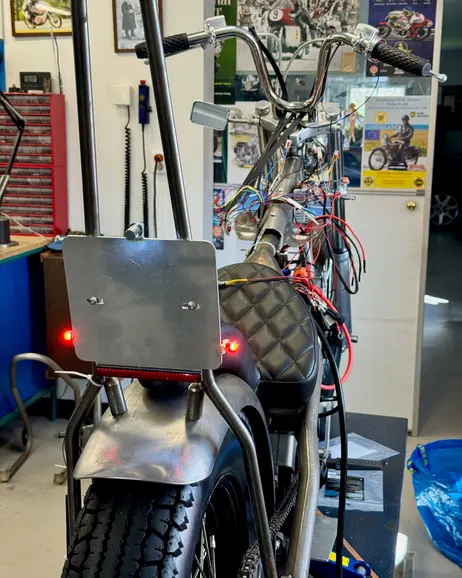
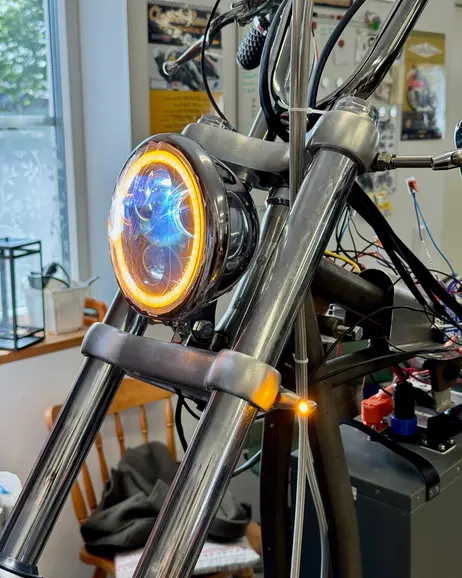
Mounted my plate and light holder and wired up the lights to verify function.
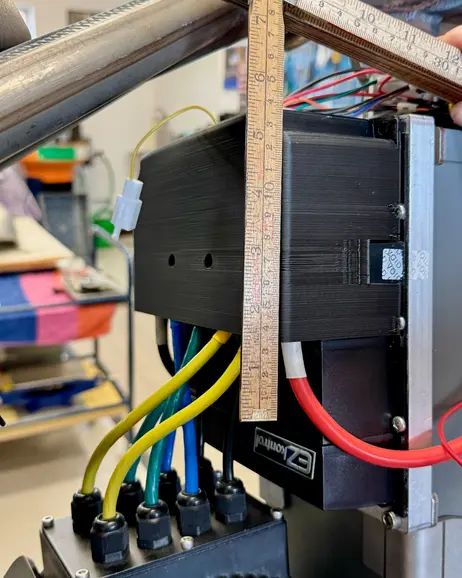
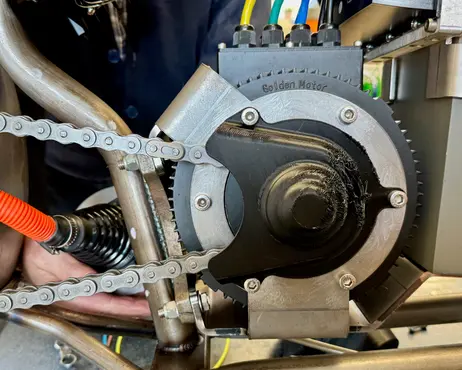
Tested a badly printed prototype for a front sprocket guard design. Also tested a rough prototype for a controller box cover.
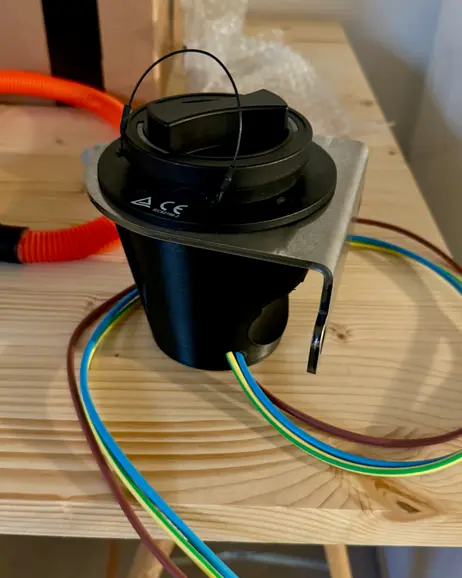
Replaced the plastic tube and grommet with my own custom cup and cables for easier routing and cleaner look.
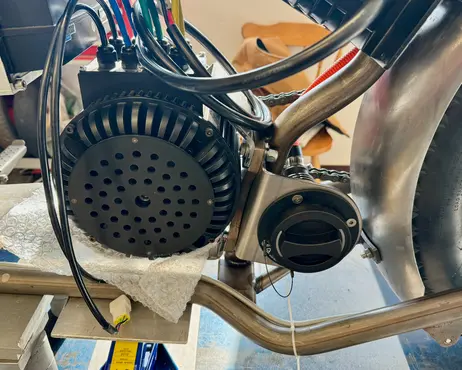
Verified that my cut and bent charge port bracket design actually fits.
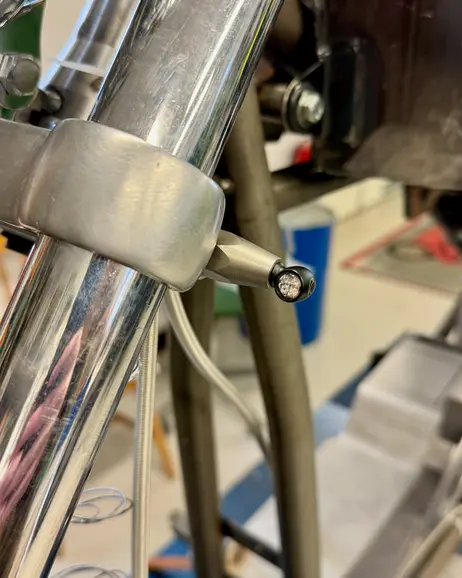
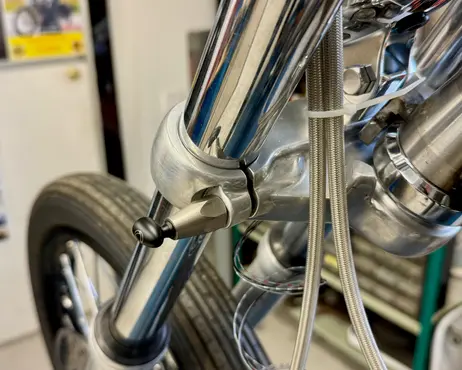
Custom indicator light mounts, doubling as triple tree clamp bolts.
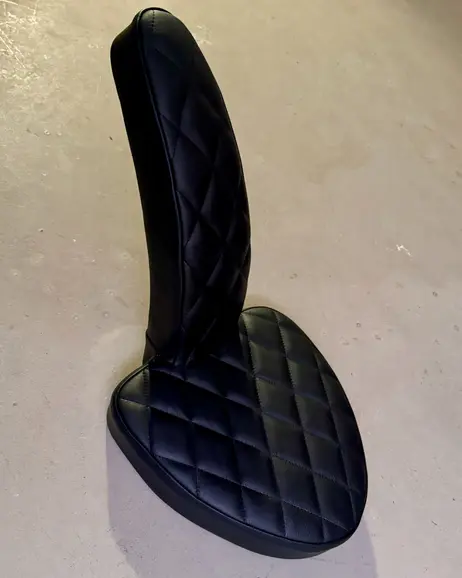
Got the completed seat back.
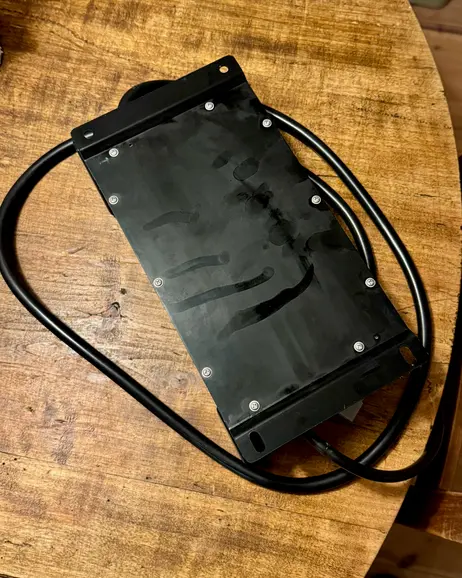
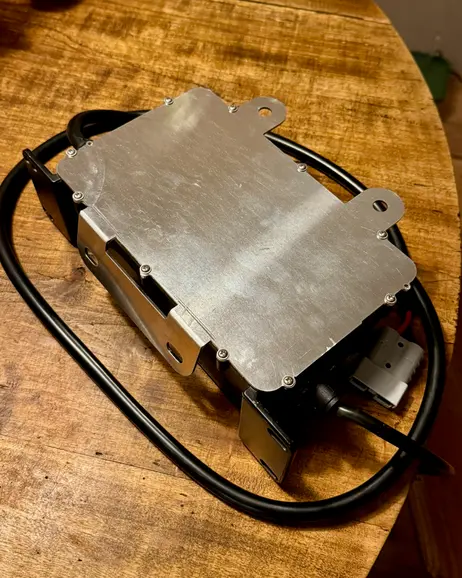
Replaced the stock cover of the charger with my custom design, making it possible to mount below the seat.
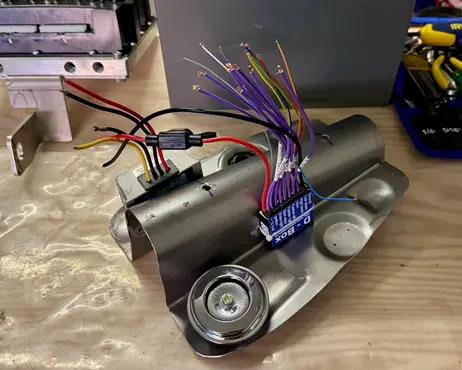
Had the bottom of the tank cut out, using it as a mounting bracket for all 12V electronics.
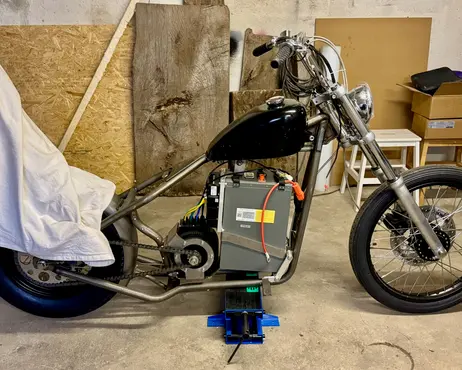
Got a Sportster tank to hide electronics.
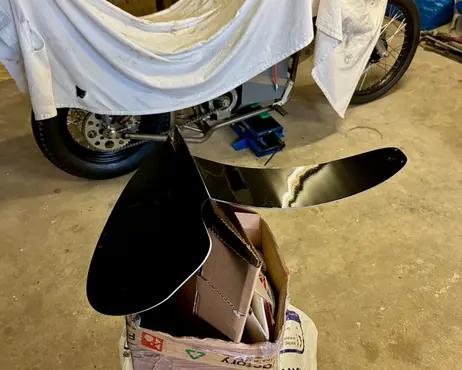
Painted the underside of the seat before I send it off for upholstering.
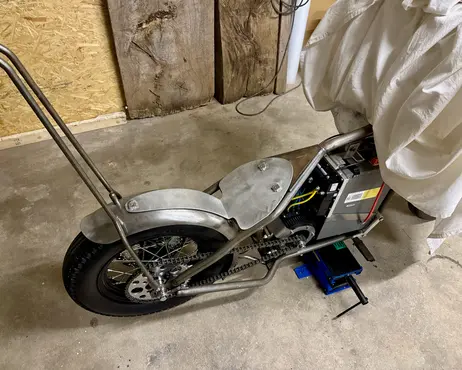
Got extra material added to the seatpan to better be able to add some mounting threads.
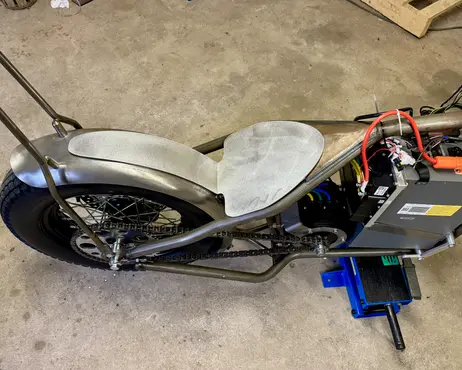
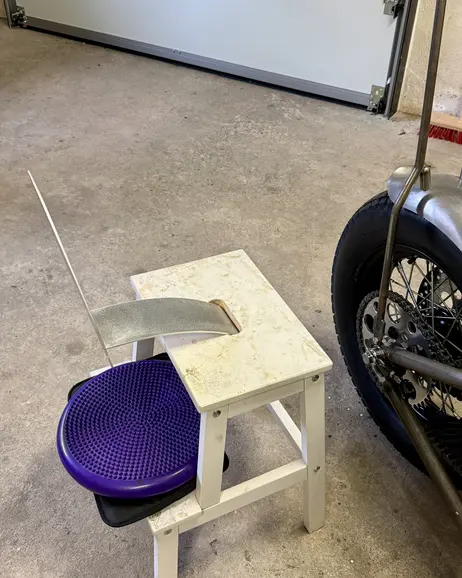
Got the laser cut seatpan. Using an IKEA bench to create the radius for the fender fit.
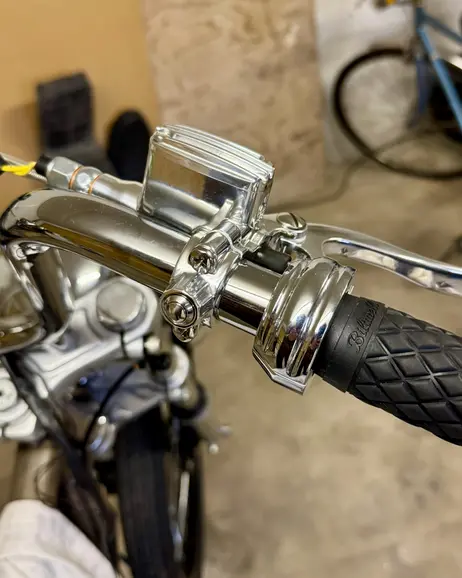
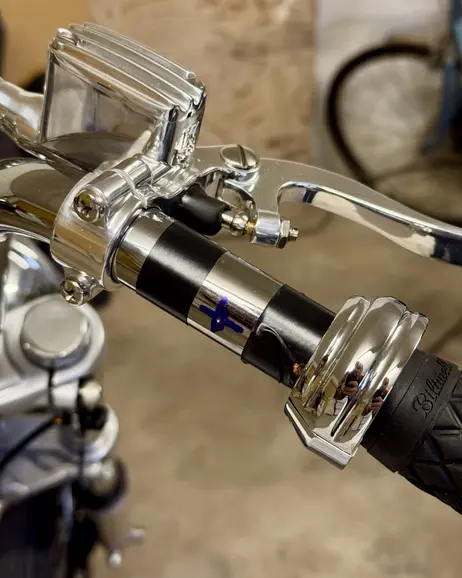
Replaced the grip clamps with versions containing a push button.
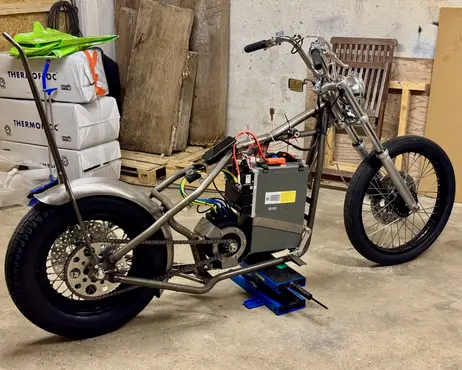
The fundamentals are in place. The bike is mechanically ridable now.
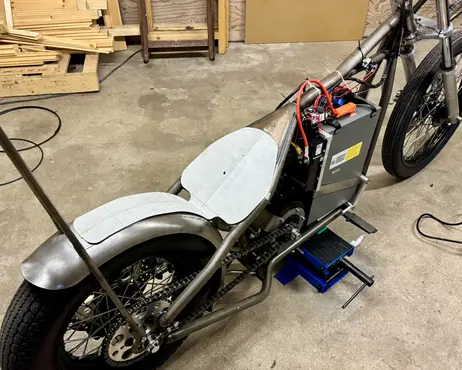
Made an initial paper reference for a custom seatpan that I could bring into the CAD software.
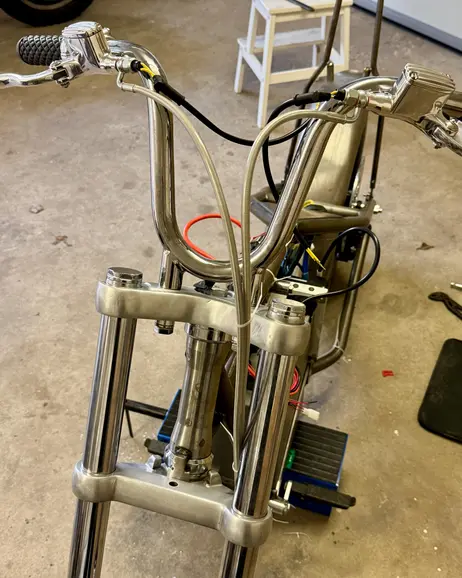
Brake lines and brake light switches in place.
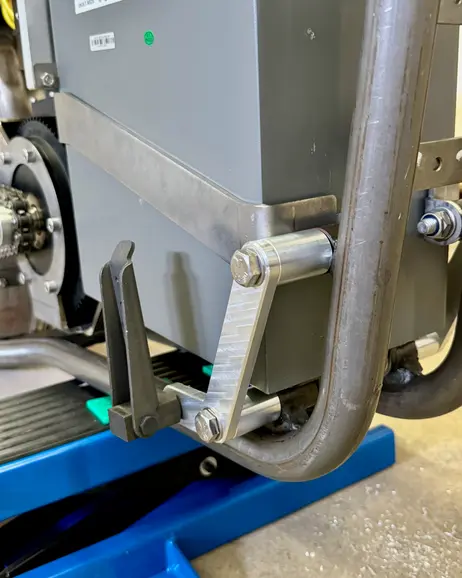
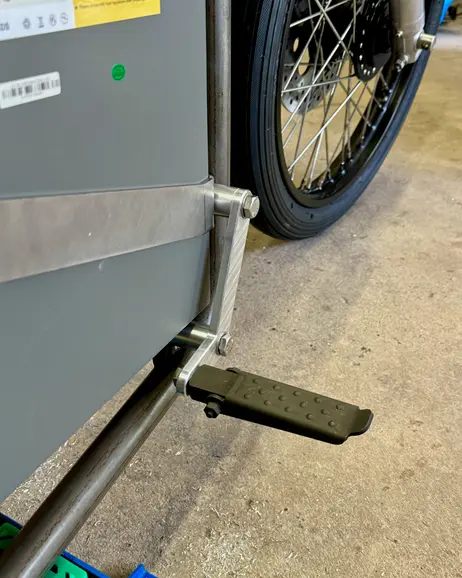
Designed and got foot peg mounts in place. Simplest solution I could come up with.
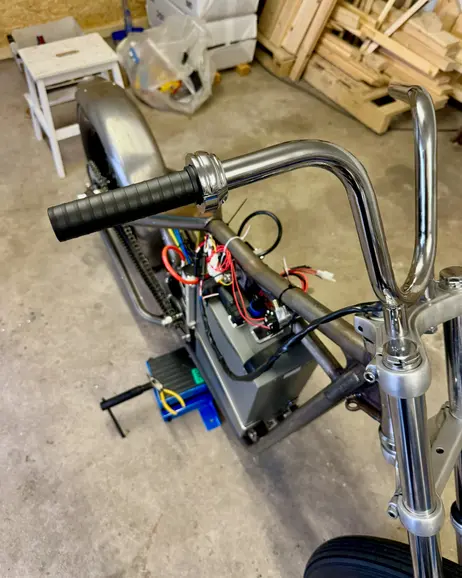
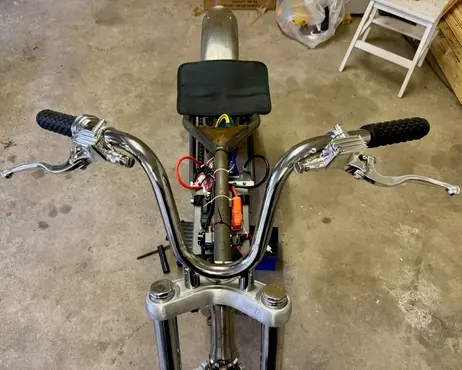
Bars on, got the internal electric throttle mounted. Also got the brake levers in place.
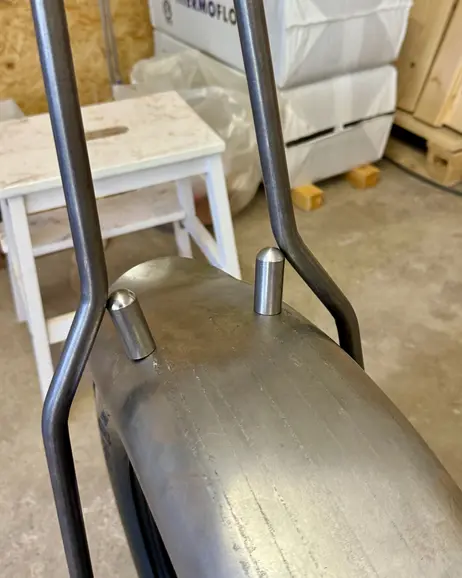
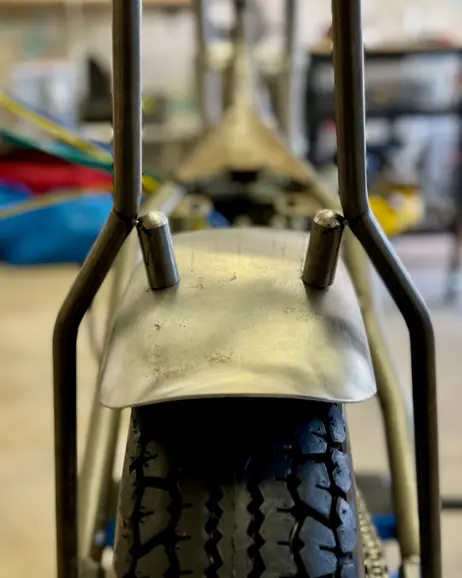
Figured out the sissy bar and fender mount combo.
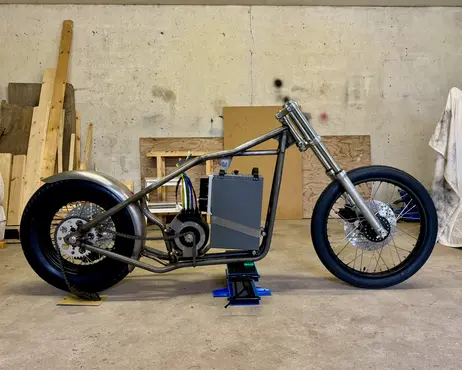
Starting to look like a bike with the basics in place.
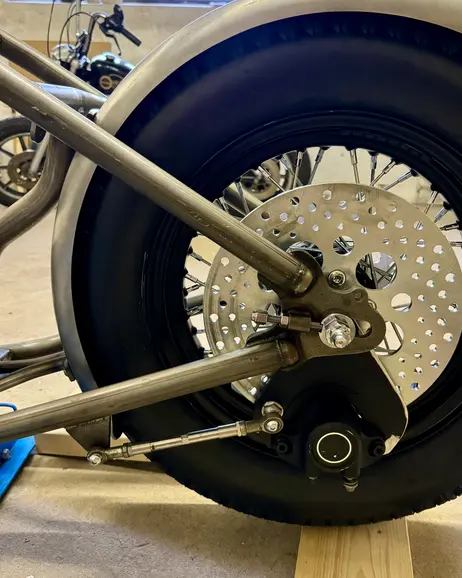
Rear bracket is shaped and fixed with an adjustable rod.
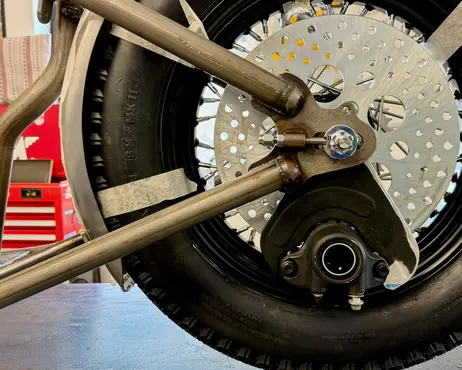
Got help milling the Sportster caliper bracket to a more uniform size for this positioning. First rough version.
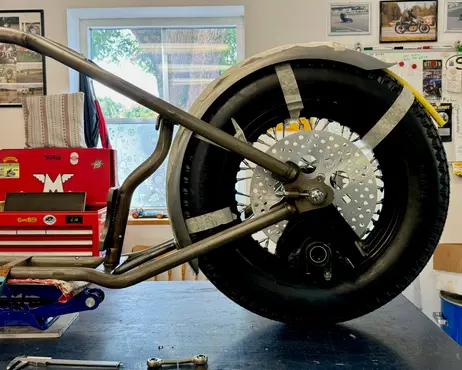
Figuring out spacing for fender and positioning of the rear brake caliper.
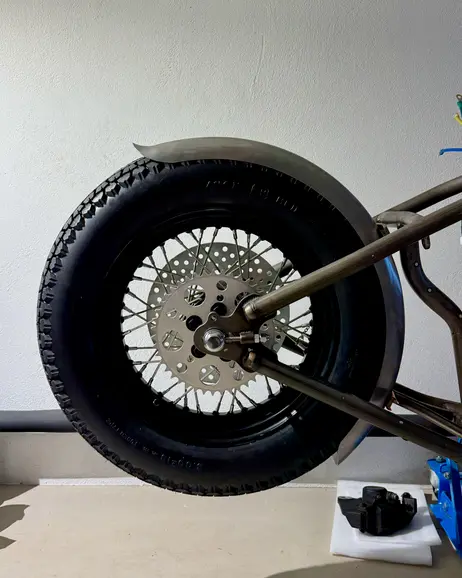
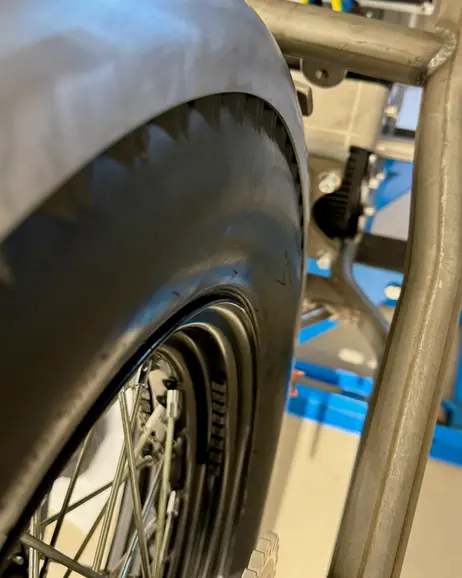
Test fitted the rear fender. Got it too narrow, will change for the same but wider model.
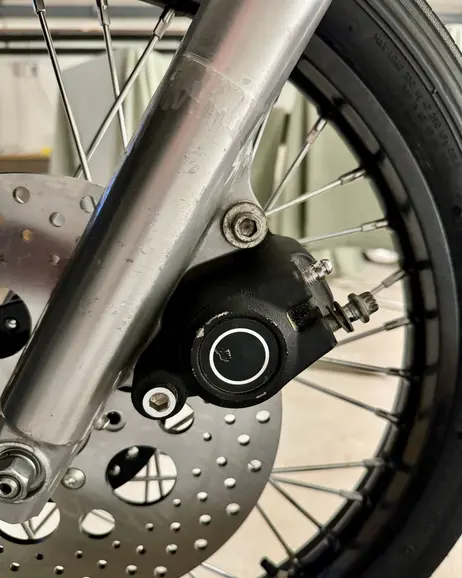
Mounted the front Sportster caliper, fits as expected.
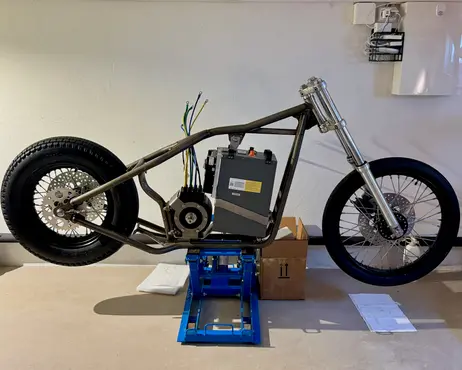
Got tires onto the rims, complete wheels now.
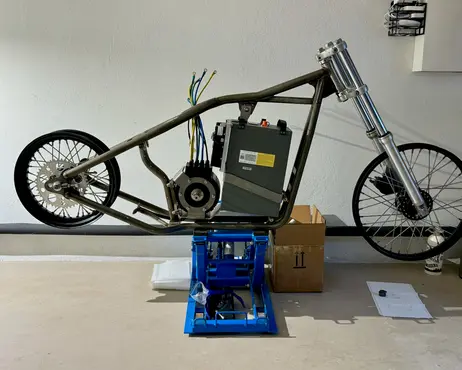
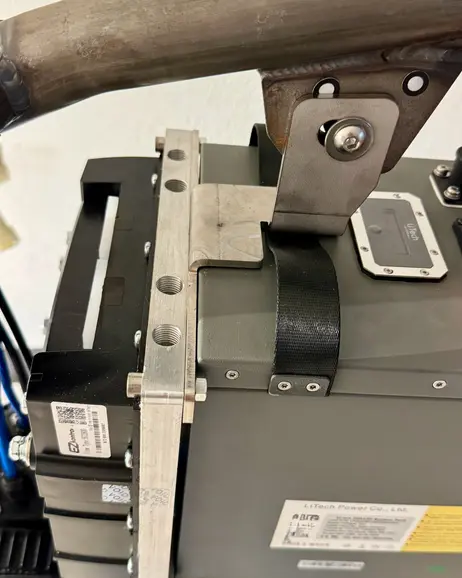
Got the side and top brackets to hold the battery in place. They also allow a place to mount the controller.
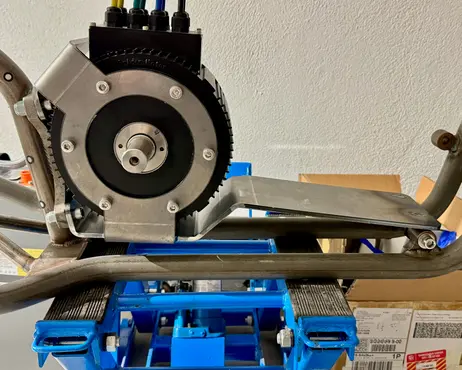
Got the motor mounted on the new bracket, much better.
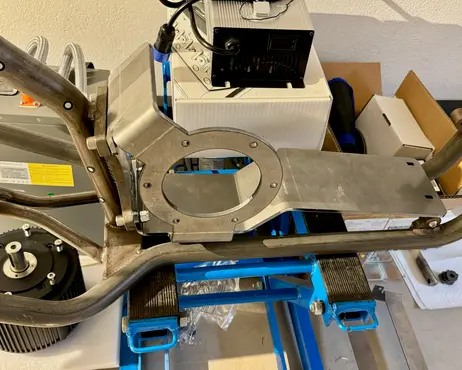
Tried a better idea for mounting the motor and making a space to rest the battery. Much sturdier.
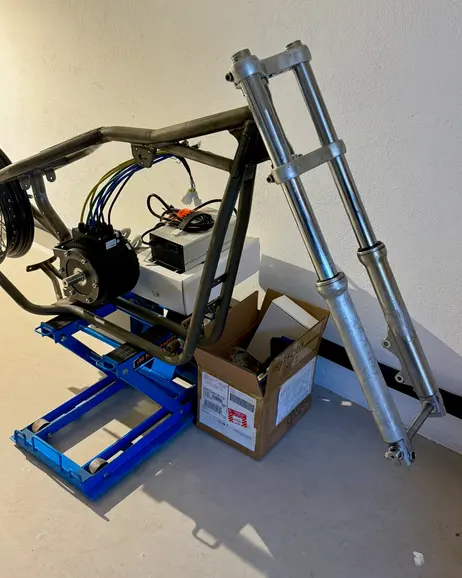
Found a complete used Sportster triple tree and fork legs. The lower legs in quite bad shape.
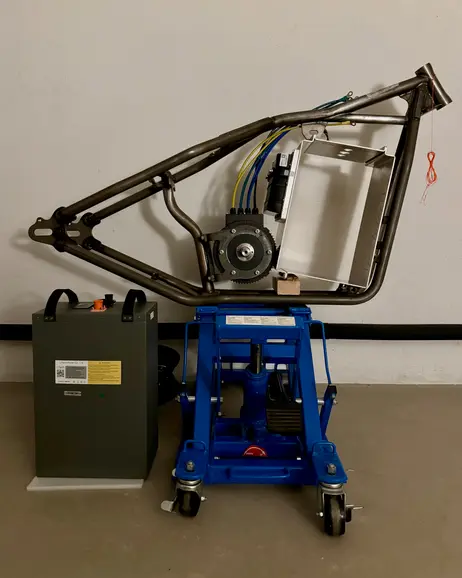
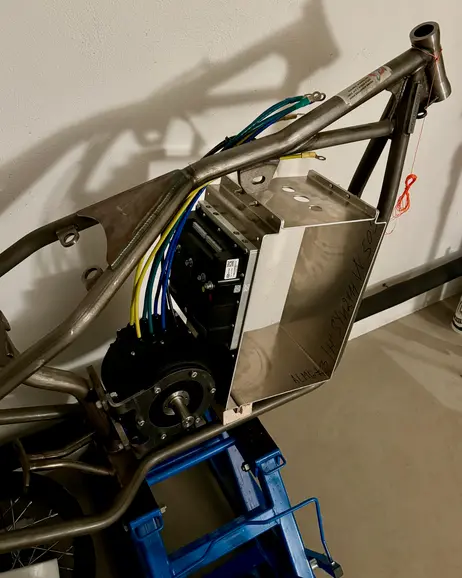
Got and mocked up the first idea of a box to hold the battery and mount the controller.
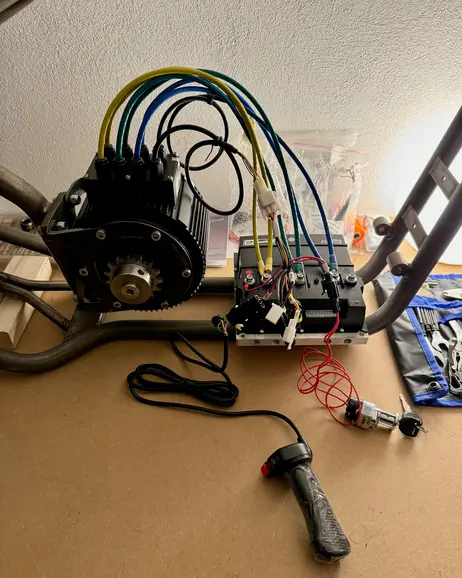
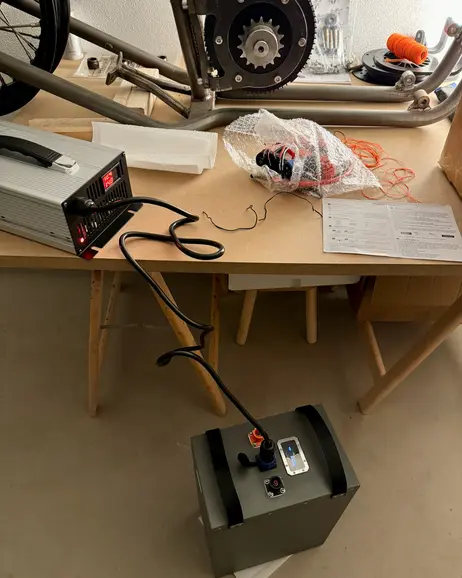
Verified the basic functionality and wiring of battery, motor and controller combo.
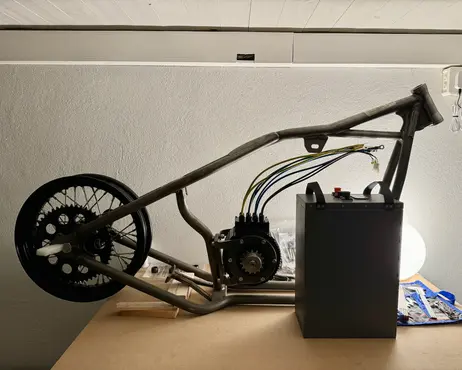
Received the battery pack, here just on the table in front of the frame. The best mock up I could do at the time.
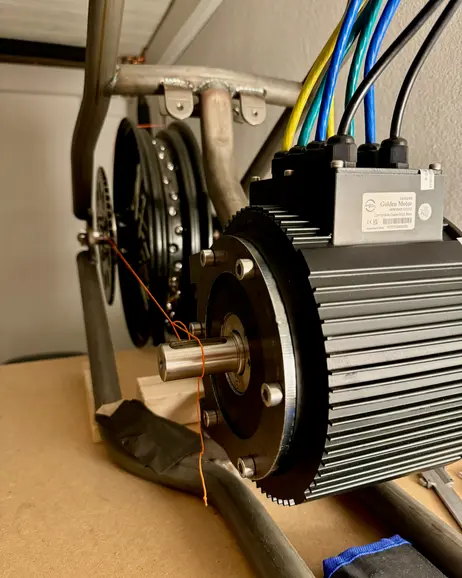
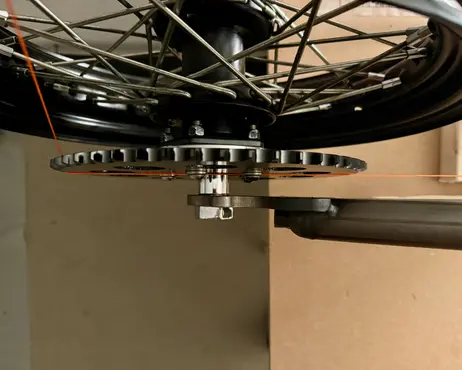
Got a rear sprocket to better verify that the chain alignment will actually work.
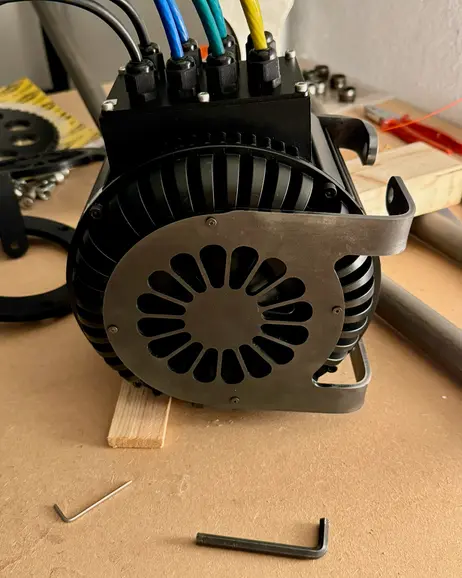
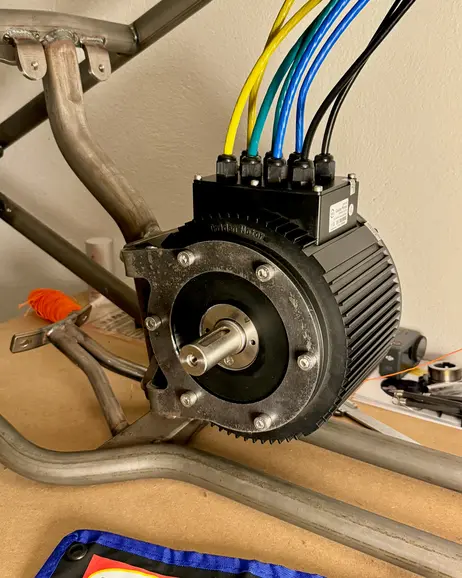
Received the laser cut and bent motor mounts for test fitting.
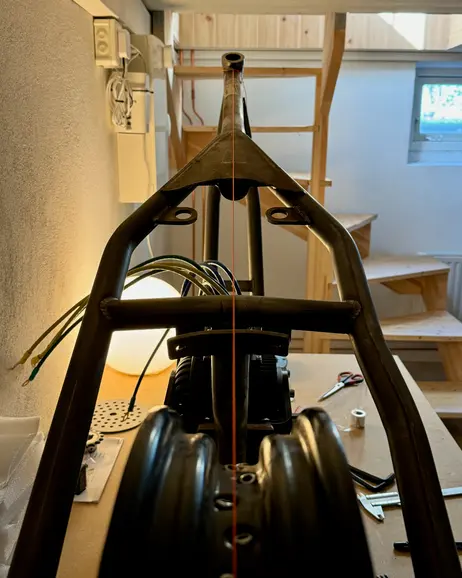
Using the simplest method I could think of for centering the rear wheel with spacers.
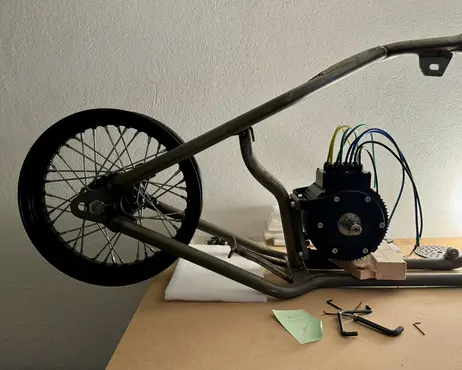
Got a rear wheel as it is important when referencing sprocket alignment and motor positioning.
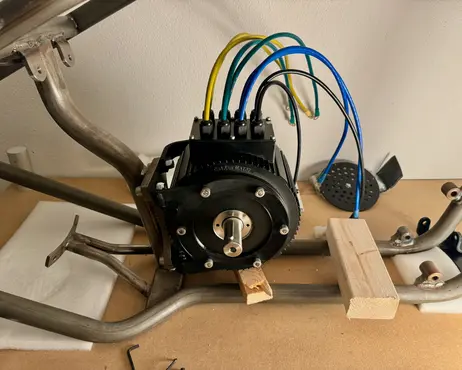
Second attempt at motor brackets, here using one in front and one on the back.
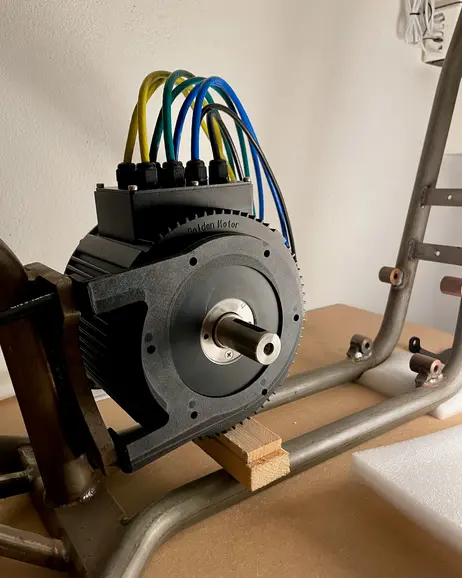
Trying out some initial ideas for motor brackets, 3D-printing prototypes.
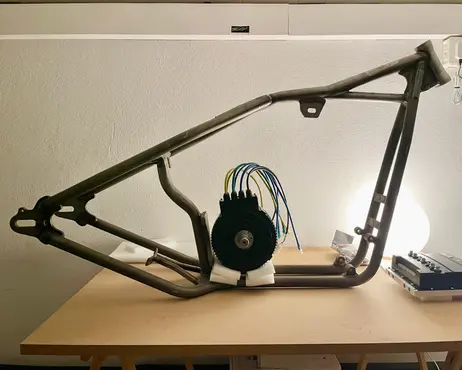
Got the Kraftech Sportster frame, motor and controller. First basic mock up to start thinking about the motor mount brackets.